
You know, I’ve recently noticed that this kind of shot, the oh-my-table-is-so-white-it-looks-so-elegant-i-must-be-a-neat-person shot is kinda popular among Instagramers (or is it just among the people I follow?). There are even several popular tags for that. Let’s say, #whiteaddict. Or, #whitegram, #whyteworks, #whywhiteworks, and many many more. Ring the bell? I bet it does.
I know some people who find it boring, but I personally like this kind of shot. It gives this neat looking picture, with a clean effect without overdo it. So lately, I’ve been doing quite a few white shot and I must admit : IT IS NOT EASY (at the first time)! There are so much trouble like the lighting, your own shadows, your phone shadows, your camera shadows, and even the shadows from the object you’re trying to capture itself sometimes annoys me.
Now I want to share with you how I do my #whiteaddict shot and how I edit it. I use mainly Snapseed for editing my whitegram. I found it soooo easy to use and the most important thing is, it works like wonder! And I’m hoping I could get many many other tips from you! Please don’t be hesitate to hit the comment down below and share what you know about this stuff! 😉


Whitegram is all about white-based surface. It could be table or even your bed cover. But the thing is, the object you’re taking photo of should be put on a white surface. That’s pretty much about it.
Now, how do I create my whitegram shot? Here are several tips.
Tips for TAKING PICTURE:
- Find a white surface (could be anything: table, paper, cloth) that is wide enough for you to take a 1:1 photo. I found an A3 size paper is perfect for this kind of shot. You can put it on the table, or even on the floor directly. So you can stand high enough from the object and that will make taking a photo a lot easier. And if it gets dirty and messy, you can just simply buy another one.
- Find a spot near the window. This way, you can have a very bright natural light. I’m lucky that I work in an office which has wide glass window all over the place. The natural light hits best in the morning (between 9 – 11 am) and later on the afternoon (2-4 pm). If you don’t have such window in your house, simply go outside!
- If you find the light is a bit too harsh, you can use a light reflector. You can find it in most camera & photography store, but actually, you can make it at home too by using aluminum foils, or tissue.
- Last but not least, learn from others. You know the most important thing about this top shot is how you put your things together. You don’t want to create that messy-looking table. You don’t want to make it look unappealing. Often times, when I find myself running out of an idea, I browse through people’s Instagram photo and learn how they do theirs. You’ll be surprised at how much inspiration you can get from others.
IT’S EDITING TIME!
And after taking my picture, most of the time, I’ll edit it before posting it on my Instagram @sharonlohh. Just to set the basic setting right, like the contrast, brightness, shadow, etc. And to eliminate all imperfections, if there’s any.
I use SNAPSEED to edit my photo. Please note that this is not a sponsored post. I write this purely because I feel like Snapseed helps me a lot in producing a nice photo. And that Snapseed is very USER-FRIENDLY and has a wide range of AMAZING features too. I’ll tell you what later.
Now here’s how I edit my white-dominated picture using Snapseed.
1. Make sure you have a nice photo
The photo itself must be good, from the beginning. The idea of editing is just to enhance the beauty it has, just like what girls do with makeup. It’s totally different with plastic surgery. For me, editing photo should be like makeup. It’s not like changing your photo quality dramatically. If you have a bad quality of picture, editing won’t do much, IMHO.
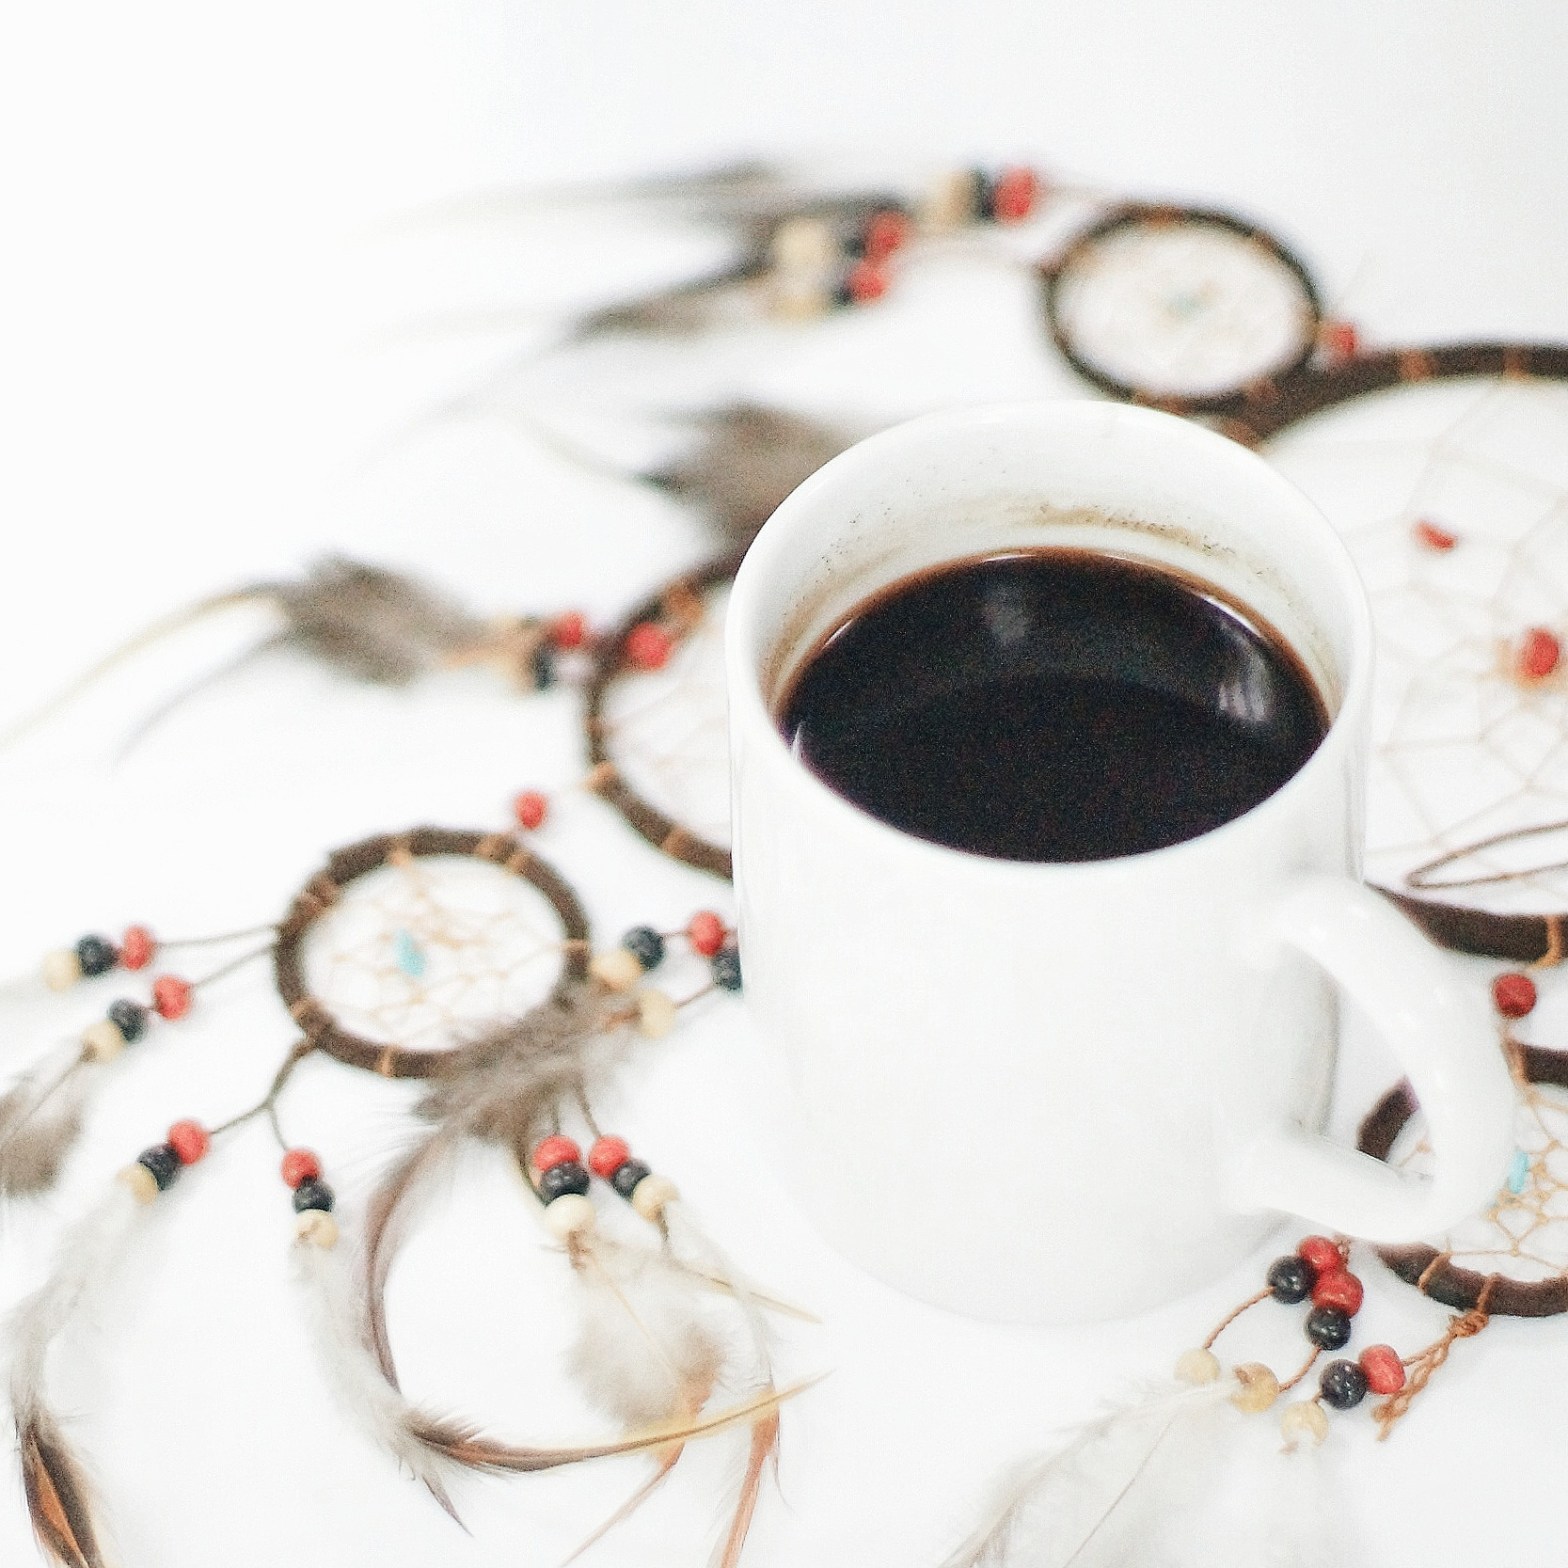
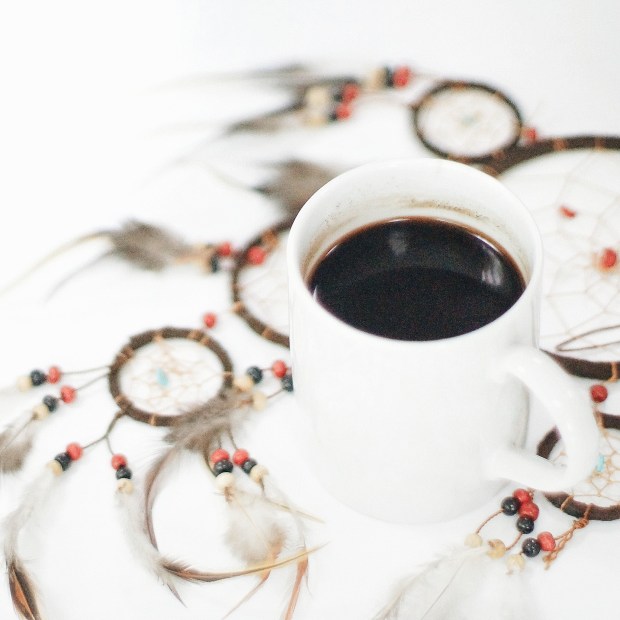
So, here’s my BEFORE EDITING photo which I took 2 days earlier in my office. It’s just my coffee and dream catcher on my working desk.

2. Crop and use “SELECTIVE ADJUST” to eliminate NON-WHITE area
Then…. using your Snapseed, crop your photo to 1:1 ratio (square) so it fits Instagram well. And use the SELECTIVE ADJUST feature, which I circle in red, to eliminate any non-white or unwanted area. You see that brown area at the edge (top left)? We can turn that into white and no body will notice it’s edited!
So stay with me, okay?

So, you use SELECTIVE ADJUST, click the + button (right picture) and point any area you want to edit. Add the brightness to 100 (maximum). Now it turns a bit, light brown, right? Then you want to SAVE your picture and DO THE SAME THING over and over again until that brown area turns into white.
3. Tune Image
Next step is to tune your image. You can set the Brightness, Ambience, Contrast, Saturation, Shadows, and Warmth. But make sure, don’t edit too much. You want to keep the white surface white. You don’t wanna make it look too yellowish, or too blueish. You want it to be, white.

4. And finally, sharpen you image.
I find sharpening your image makes a huge different (at least to my eyes). It does make it looks SHARP (that’s the best word I can use to describe it, lol). And it gives your picture more texture in the details.

You can use the “DETAILS” feature from Snapseed to sharpen your image. Don’t sharpen it too much or else it’ll look like it has this grain that it makes your picture looks like a low-quality picture.
And that’s pretty much about it! That’s how I usually edit my photo. Here’s the final result.
I hope this short tutorial helps. Some people have been asking me recently about this and I thought: hey, why don’t I just share it on the blog? It might be useful for some who have no idea about it. So, good luck with your photo, guys!

There’s already newer version of snapseed with better algorithm and faster performance, available in play store. I personally don’t use sharpen in snapseed except the ‘structure’ for micro contrast. Since instagram import will resize the photo and resampled, I’ll sharpen from instagram instead, in my experience the image is crispier.
Leo! Good to knowwwww that! I haven’t updated my snapseed and I think I should, soon :p And I don’t know about the resample thing. Thank you for the info. Oh and yes, after I sharpen my photo in snapseed, I will again, sharpen it in instagram hahaha. I always feel like it’s lack of sharpening when I import it in instagram. So that’s why :O
Yeap but double sharpening is just too much for me and will create halo artifact, especially on contrast adjacent edge. One thing you’ll notice is that instagram keep changing their spec, last time the image was 640px, I think they’ve doubled it now, don’t trust me? Check your old photos (30w above) and you’ll see most of them appear blurry.
Oh so that’s why! I thought it’s because I use my mobile phone or something (about the old pic). It’s nice to know, Leo 😀
thank you for the tips, Sharon 🙂
Yay thank you for reading, Dita! 😀
Kak Sharon makin lama makin kewrendh ya kak
Kamija aku kangennnnn!
I know I know~ sabar ya XD
ish. ngelunjak dia
A very useful tips! Thanks, Sharon!
Oh, don’t hesitate about the video, I’ve worked hard on my first and it still looked amateurish, hehehe. But we’ll improve along the way, right?
Kyaaa Gio mampir ke blog ku!
Hahaha yes, I always feel like there’s something wrong with my video. But who cares, just post it anyway or else it won’t be posted ever 😛 Now I’m working on the second one. Hopefully it would be *slightly* better.
A very useful tips! Thanks, Sharon!
Hi Noni! Thank you for reading yaaaaa 😀
Wahhh, emang snapseed paling oke ternyata. Mmmm, kalo mau bikin filter sendiri, coba pake Mix360 (android). Lumayan, bisa bikin tone nya ga belang blentong. Hehee. Btw nice share, kak. Keep on going. Gracias!
It is very useful! Thanks!